Can you tell me who you ordered it from and of any changes to newer models: someone mentioned there were only two stop heights and that a thired may have neen incorproated.
Did it arrive in good condition or were there scratches and the like?
Thanks, and I may take you up on it if you will be around on Wednesday.
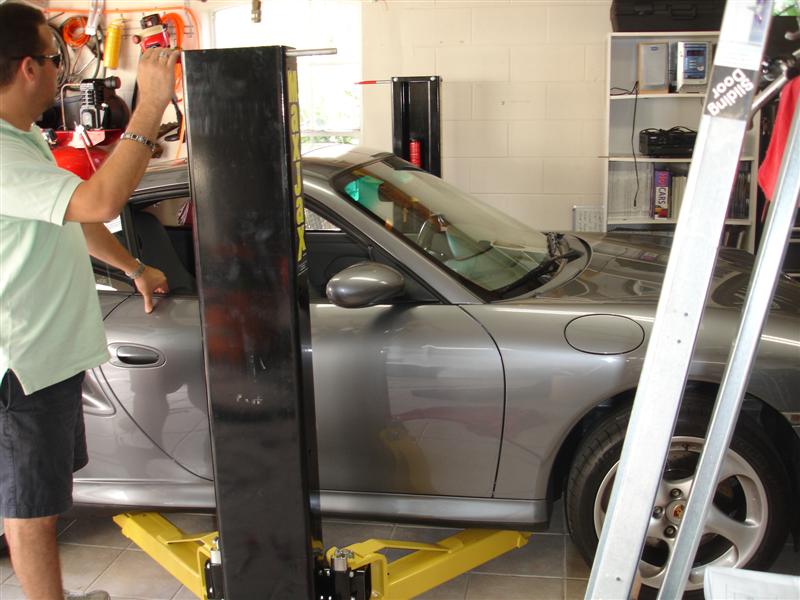
I got it directly from Dannmar during the first group buy. Arrived in good condition. Only a set of adapters missing.
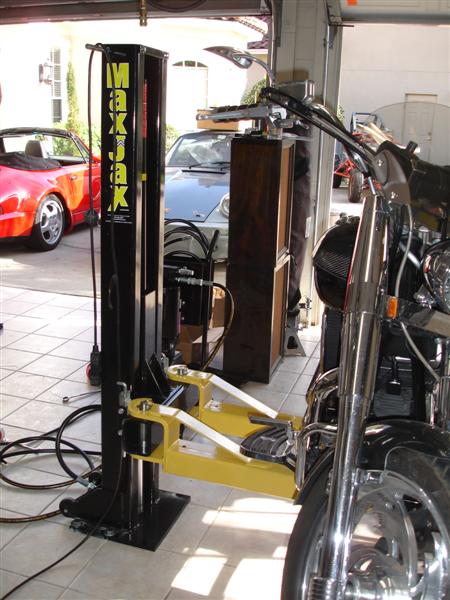
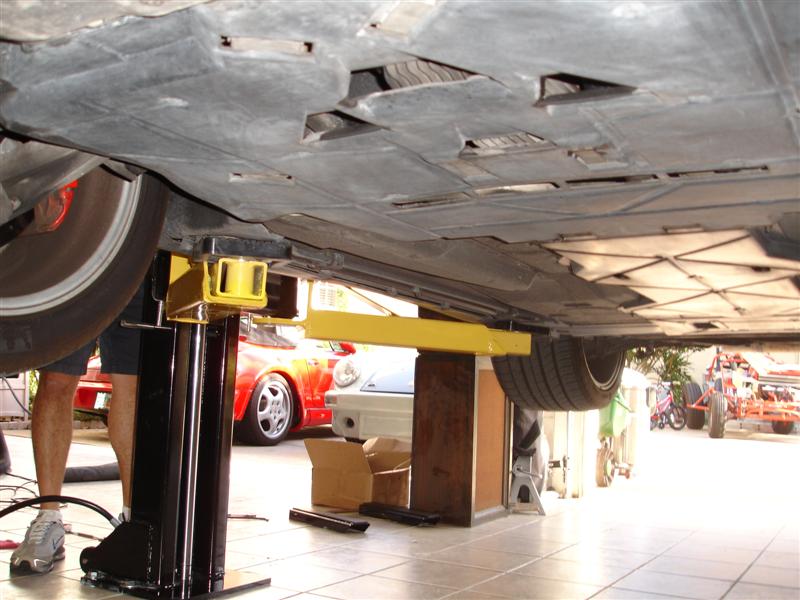
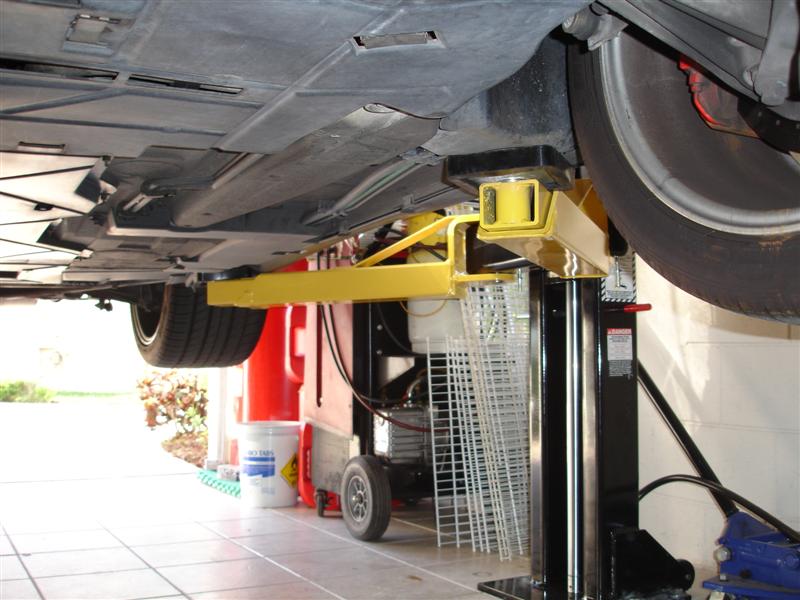
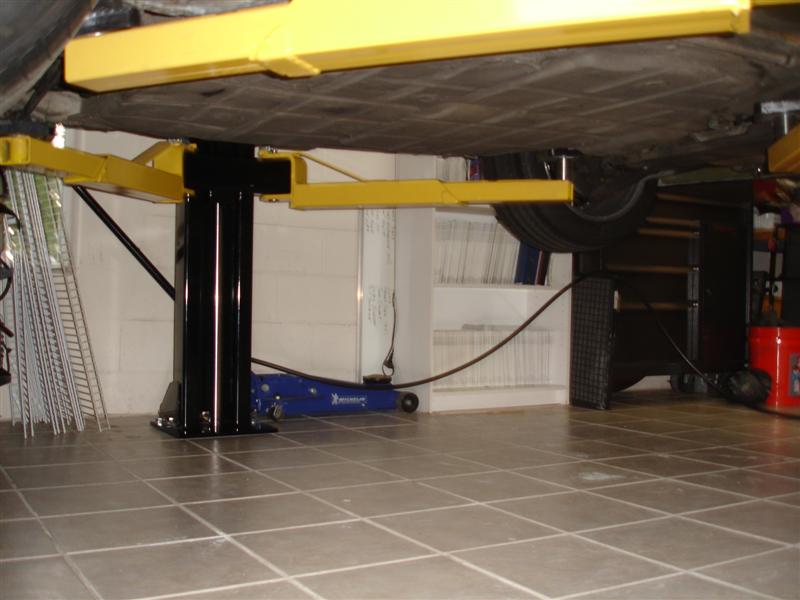
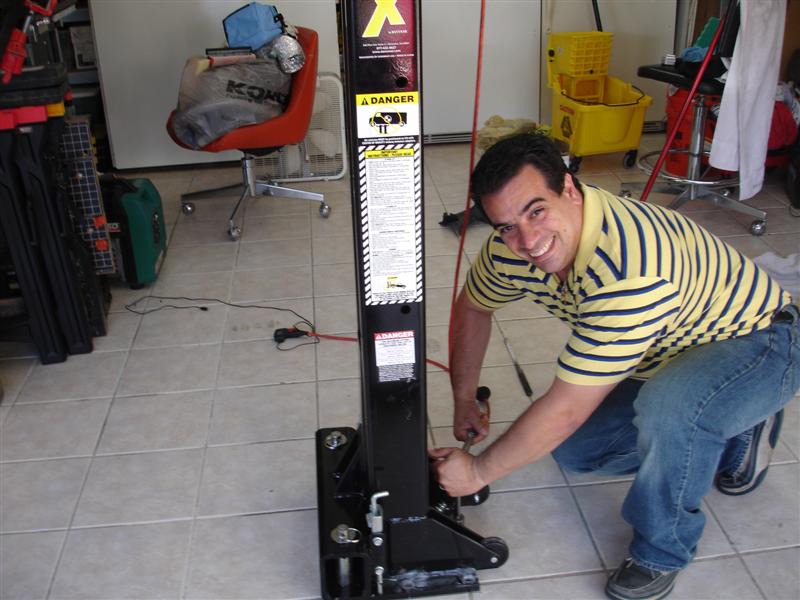
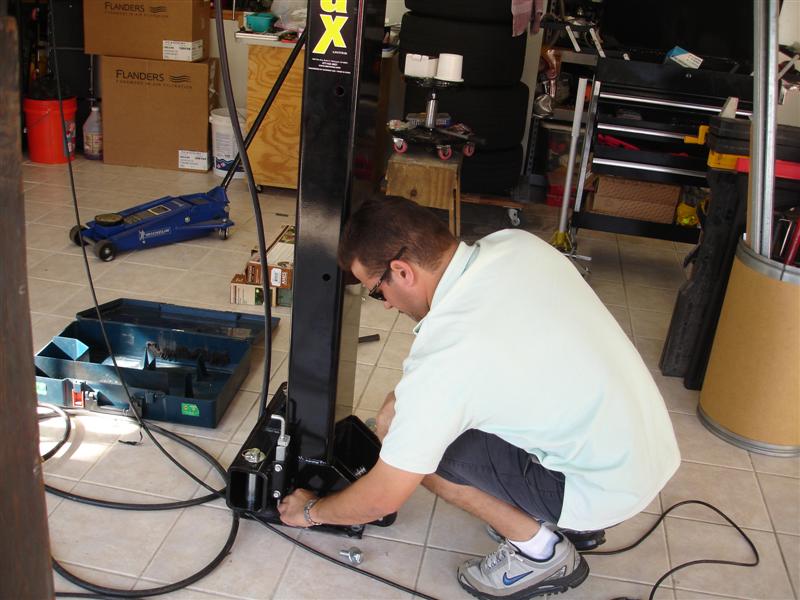
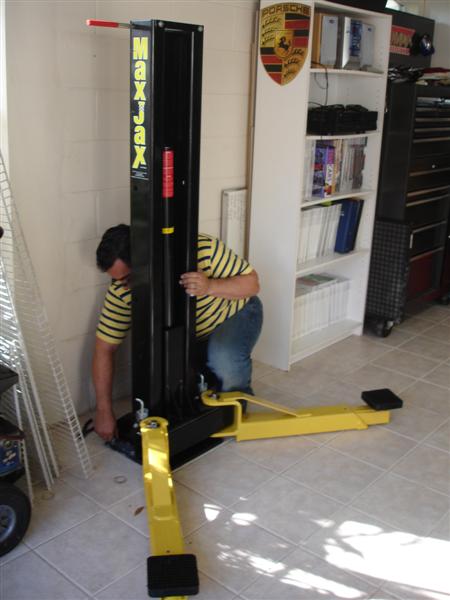
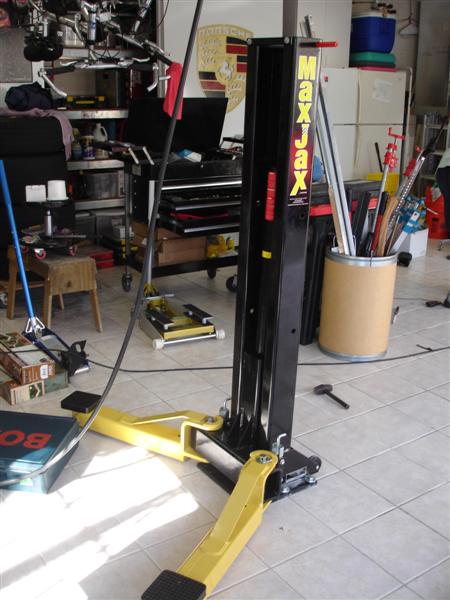
Here is what it looked like when I got it:
It weights 800-900lbs... so without a lift it is going no where...
For those getting ready... the instructions tells you that you will need 7 quarts of ATF fluid. That assumes that your bottles and hoses are full. So plan on using 9 quarts.
System needs to be bleed to get the air out. Easy to do, just follow the instructions. You will need to bleed it a couple of times to make sure you have all the air out...
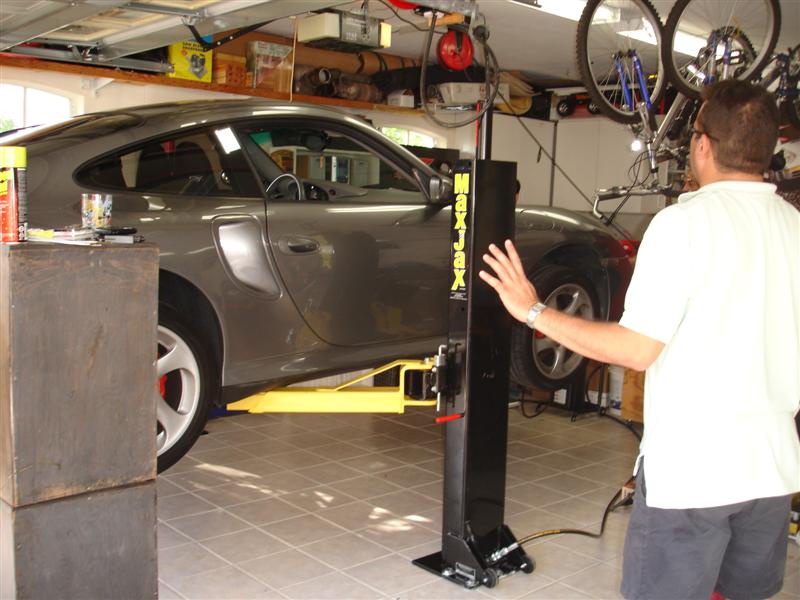
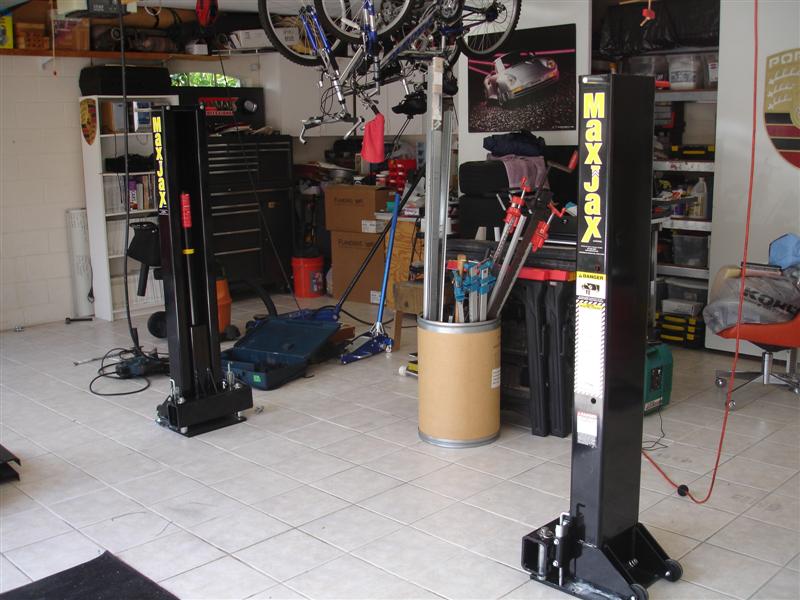
Since I have a three car garage, I wanted to have the ability to use it in the single and in the double bay. You can ask for additional anchors when ordering the lift or you can buy them via the web...
The anchors are WEJ-IT® POWER-Drop - 7/8 x 3-13/16 (5/8 Internal thread) -
http://www.alliedbolt.com/wejit.html
I found serveral places on the web that sells them:
http://store.eberliron.com/products/wej_it_concrete_anchors/power_drop_drop_in_anchor
http://www.drillspot.com/products/43499/Wej-IT_PD-58_Drop-IN_Anchor
Another great suggestions is to also pour some epoxy for concrete before dropping the anchor and/or to fill any space on top of the anchor.
Specs on the anchors?
How apart to install the columns?
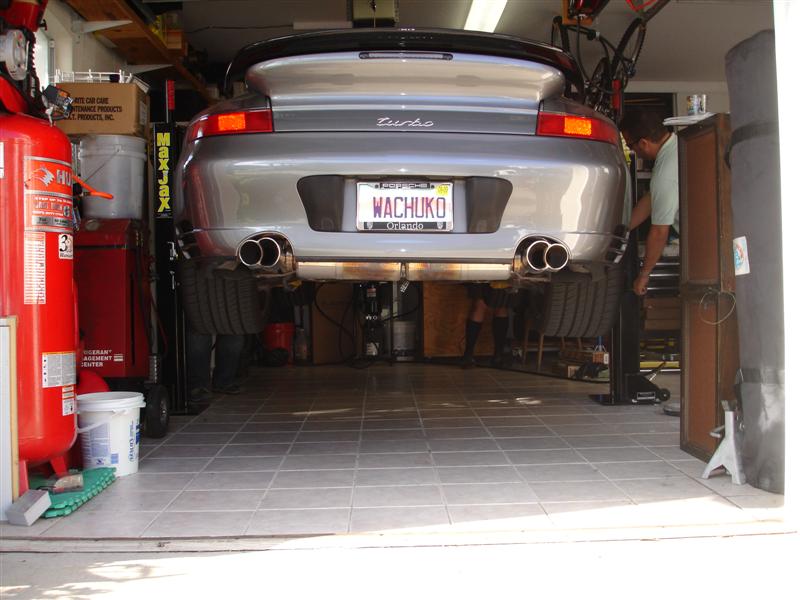
In the single bay I have mine at 115" (measured from the outside of the base). Getting out of the car is a tight fit. Moving the arms into position is also a tight fit... arms need to be all the way in and, depending on the car, I need to have someone in the car to move forward while I slide the arm in, and them backwards a little to slide the second arm in. Keep in mind that test cars were Porsche 911 ('83, '91, '02). Something with a longer wheel base will not be so much of an issue. I also took into consideration being able to close the garage door with the car on the lift, sounds stupid, but I just want to make sure you don't drill it with the right width only to find out that half the car is sticking out of the garage...
In the double bay I have them at 128" (again, measured from the outside of the base) and it works great... easy access to the lifting points, easy to open the doors, still within the 130" limit in the install manual for trucks (eventhough I am using it for smaller cars), and I can slide the arms in and out without having a second person moving the car around.
Electrical?? Be sure to have a 20amp outlet... you will trigger the 15amp breaker from time to time if you decide not to go with a 20amp setup.
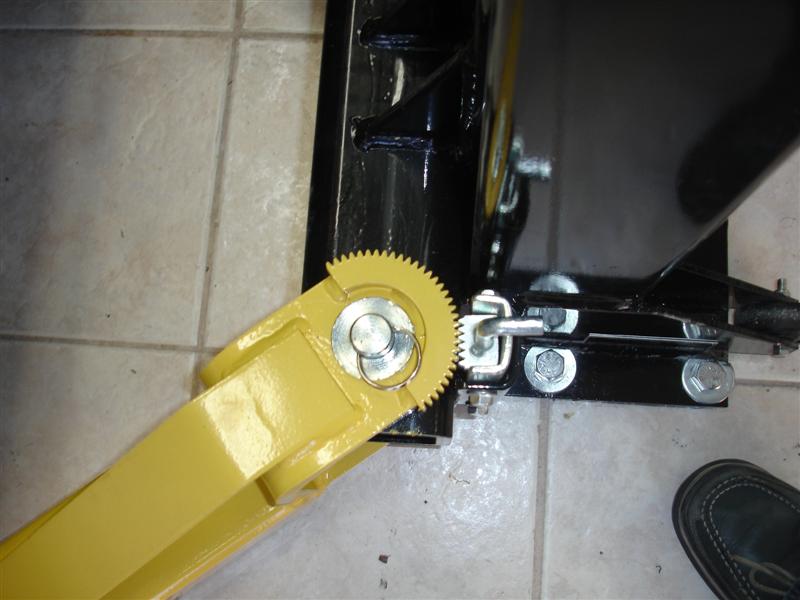
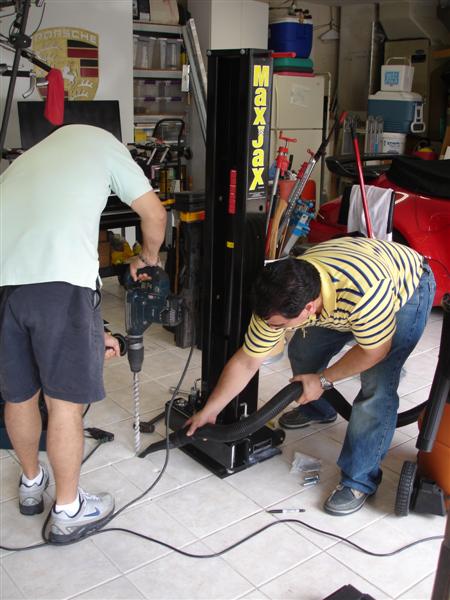
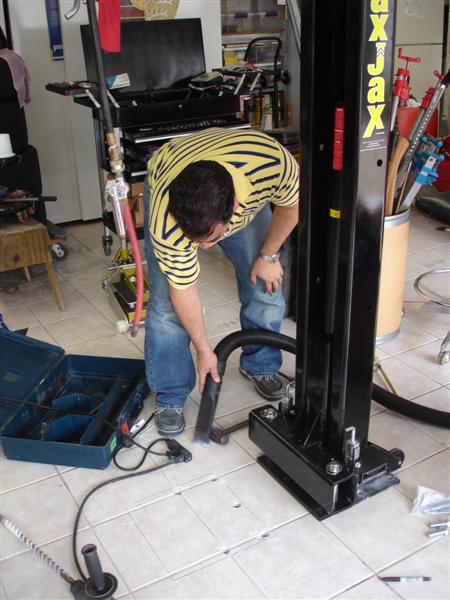
Holes?
You really need to follow the directions on the drilling... after following the instructions all holes aligned perfectly. I made additional holes to swap the towers between the single bay and the double bay. It helps that the hole are symmetrical so turning the tower 180 degrees only requires drilling one more hole for that column.
I did used the shims on one column to make the distance at the bottom of the column and the top to be equal.
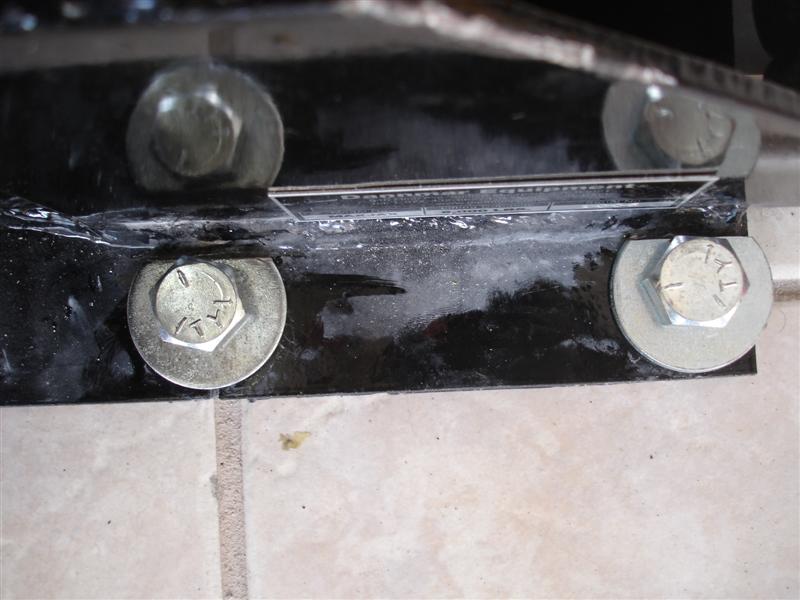
I also needed to cut some of the washers to make them fit the colums as some of the holes were to close to the welds...
Washers cut to fit...
Another useful thread:
http://garagejournal.com/forum/showthread.php?t=31570
A few more...
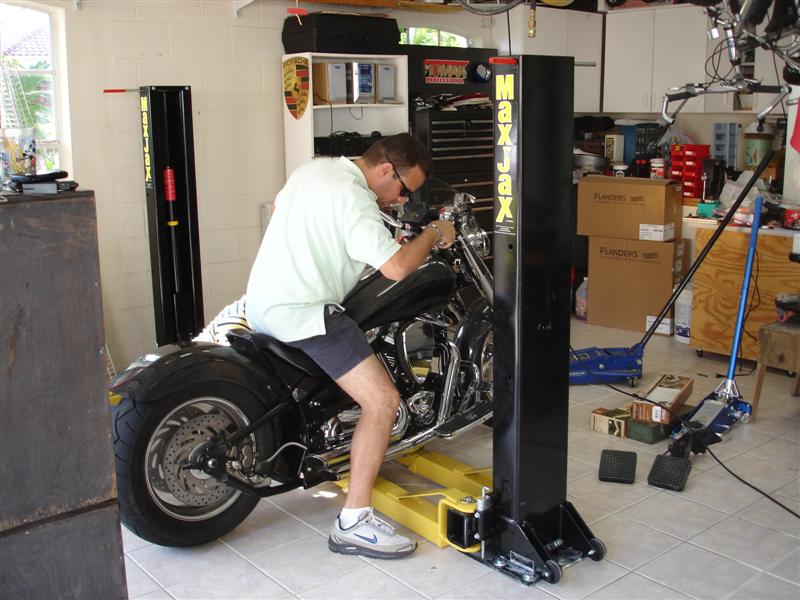
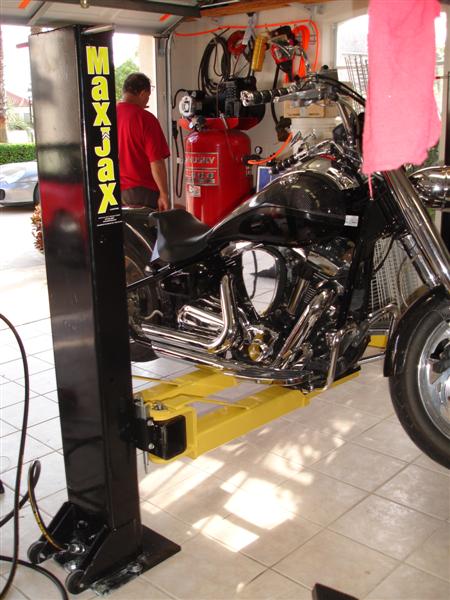
Motorcycle adapters
I hope that helps.
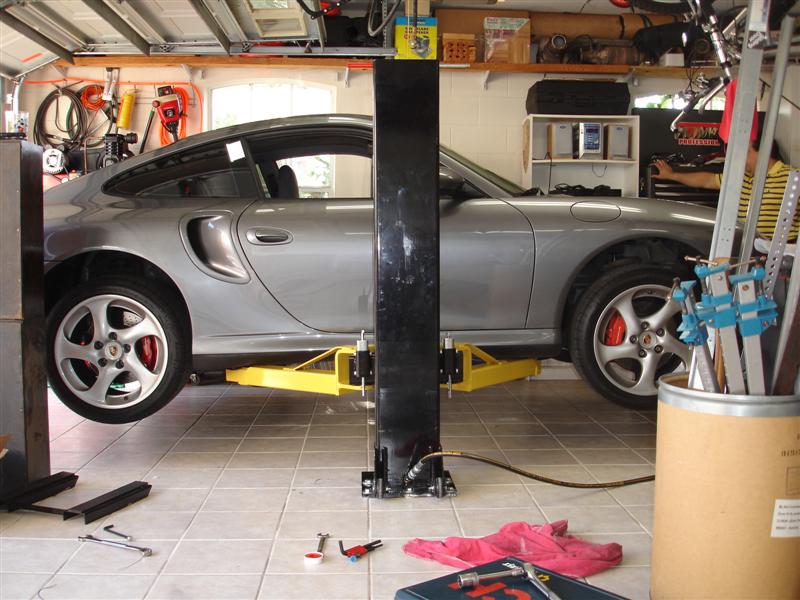
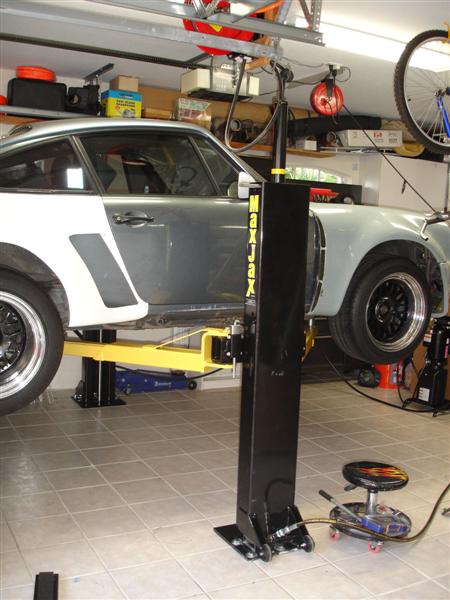
This lift will get used a lot! Best purchase I have made, and coming from having a midrise lift, I really like not having all that metal under the car while working on it. The ability of getting back my garage space when I am done is also a major plus. Thank you Dannmar for giving us a two-post lift we can use in our low ceiling garages!!


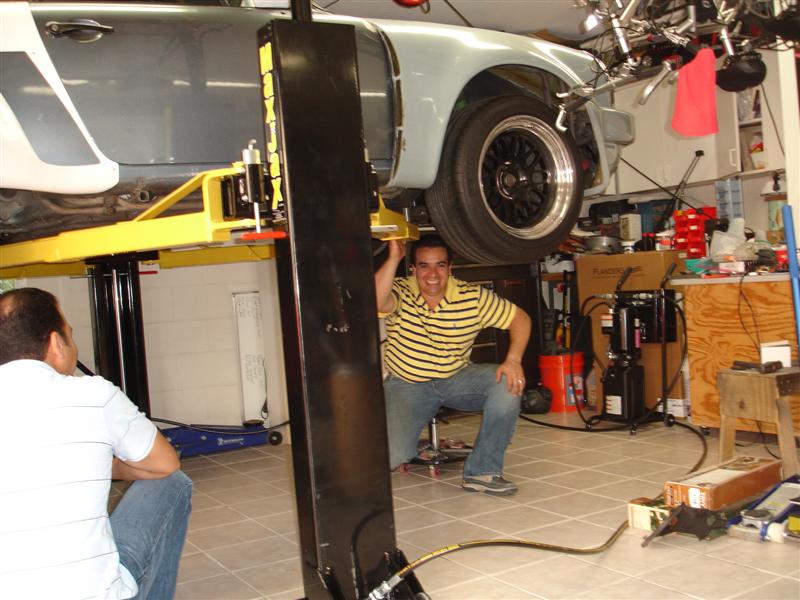
 Very smooth lifting, lowering... just awesome! I lifted two of my cars, pushed them while lifted... and all very stable...
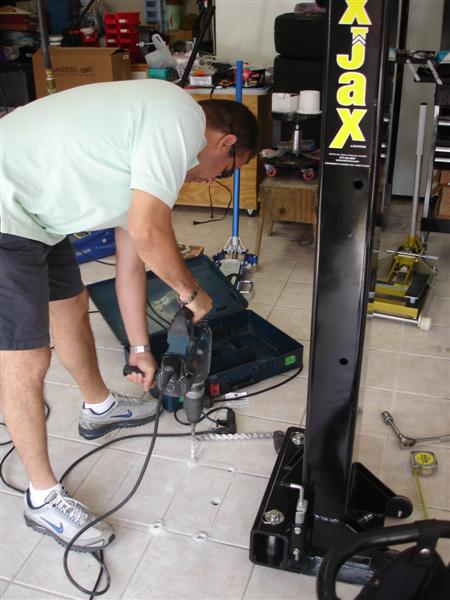
")